Saturday, September 29, 2012

Fall is sauerkraut time. This morning I started the process by packing the shredded cabbage into a 2     gallon crock.

 You will need a 2 gallon crock or stainless steel pot, a stomper and a cabbage shredder. Since I am a woodturner, I made my stomper out of maple wood. If you do not have a stomper, you can fill a sealed quart canning jar with water and use that to stomp with. You can also shred the cabbage using a knife but that takes a lot longer.
 First I removed the outer green leaves from the head of cabbage and cut each head into quarters, then removed the core. I used 3 heads which will fill my 2 gallon crock 1/2 full which is just right.                             

Next the cabbage was finely shredded using a cabbage shredder set to cut 1/16 to 1/8 inch slices. There are always some pieces of cabbage that cannot be shredded using the shredder, so shred them using a knife or food processor with the shredding blade installed.

The cabbage is now finely shredded and ready to pack into the crock with 1/3 cup of pickling salt.

3 or 4 handfuls of cabbage with 1 tablespoon of salt is added to the crock and mixed, then stomped with the stomper until the moisture in the cabbage is released. I then repeat these steps until all of the cabbage is used up.When complete, the liquid should cover the cabbage in the crock. If not, mix 1 quart of water with 1 1/2 tablespoons pickling salt and heat on the stove to dissolve the salt. Let cool and add to the crock until the cabbage is covered.                                             

Next cover the kraut with a plastic storage bag filled 2/3 full with water and sealed. This keeps the kraut beneath the brine so the kraut does not spoil in the fermenting process.

The crock is covered with a clean tea towel and allowed to sit in my kitchen at 70 to 75 degrees F for 1 month. At the end of the month, remove the plastic bag and skim off any scum then drain and pack the kraut in glass jars with lids and keep in the refrigerator where it will last for several months. Enjoy!

Friday, September 28, 2012

                                                      Lots of tomatoes to freeze today.

The first step is to blanch the tomatoes in boiling water for 3 minutes to loosen the skins so they can easily be removed.
The tomatoes now have their skins and core removed and they have been chopped ready to freeze or to make salsa. I added 2 finely chopped onions and 2 garlic cloves.

Some of the chopped tomatoes were made into salsa using Mrs Wages Salsa  Tomato Mix Medium and then frozen for later use as salsa or in soups. The remaining tomatoes were frozen for later use in making lasagna, spaghetti and other dishes requiring tomatoes.

                                                 Salsa-filled freezer bags ready for the freezer.

Thursday, September 27, 2012

Today I made the first fall batch of mustard using brown mustard seeds from my garden. Brown mustard makes a spicy European mustard. The recipe I use is from my soon to be published cookbook, Dad's Home Cooking, Traditional Recipes for Preparing Healthy Family Meals.

Sunday, September 23, 2012

Today I picked and roasted my Ancho Magnifico chili peppers. The 4 plants I had were started from seed indoors on April 2, 2012 and they were set out in the garden on May 26, 2012. The seed is a hybrid from Territorial Seed with a 75 day maturity. They grew to a large size 6" long and 3" across! They are very meaty and have a wonderful chili taste.

I was able to get 12 of them at a time on my 30 inch grille. With all burners on high it took about 10 minutes to roast. I turned them several times.


This is what they looked like near the end of the roasting time. I placed the peppers in a paper bag and closed the bag and let them sit for 1/2 hour. I then removed and discarded the skin and seeds leaving the stem and flesh. I then wrapped them individually in plastic and placed them in freezer bags and into the freezer. These will be used to prepare chili dishes and to add that roasted pepper taste to soups throughout the fall and winter! This variety will be planted again next year. I may even plant 6 plants.


Thursday, September 20, 2012

I thought I would take you through the process of making my Oktoberfest Marzen beer. This is a smooth, malty amber German beer with a hop bite. I started on September 5, 2012 by buying the ingredients. This beer will be ready to drink on October 1, 2012 at a cost of about $1.00 per bottle.
These are the ingredients from lower left: 1/2 pound Belgian Special Grain, 4 pounds dry amber malt, 1 (3.75 pound) Coopers Lager Malt, 3 ounces Tettnager hops that I grew, 7 grams Coopers dry brewing yeast, and 4 ounces priming sugar. Not shown: about 6 gallons of bottled water.
Above is my outdoor kitchen. In the center you can see the large burner and 30 quart stainless steel kettle that I use to boil the malt and hops.
On September 8, 2012 I started brewing. The first step is to add 2 1/2 gallons of bottled water to the kettle. Place the Belgian special grains in a strainer bag and add it to the water. Bring almost to a boil, turn off the heat and let it sit for 10 minutes. 
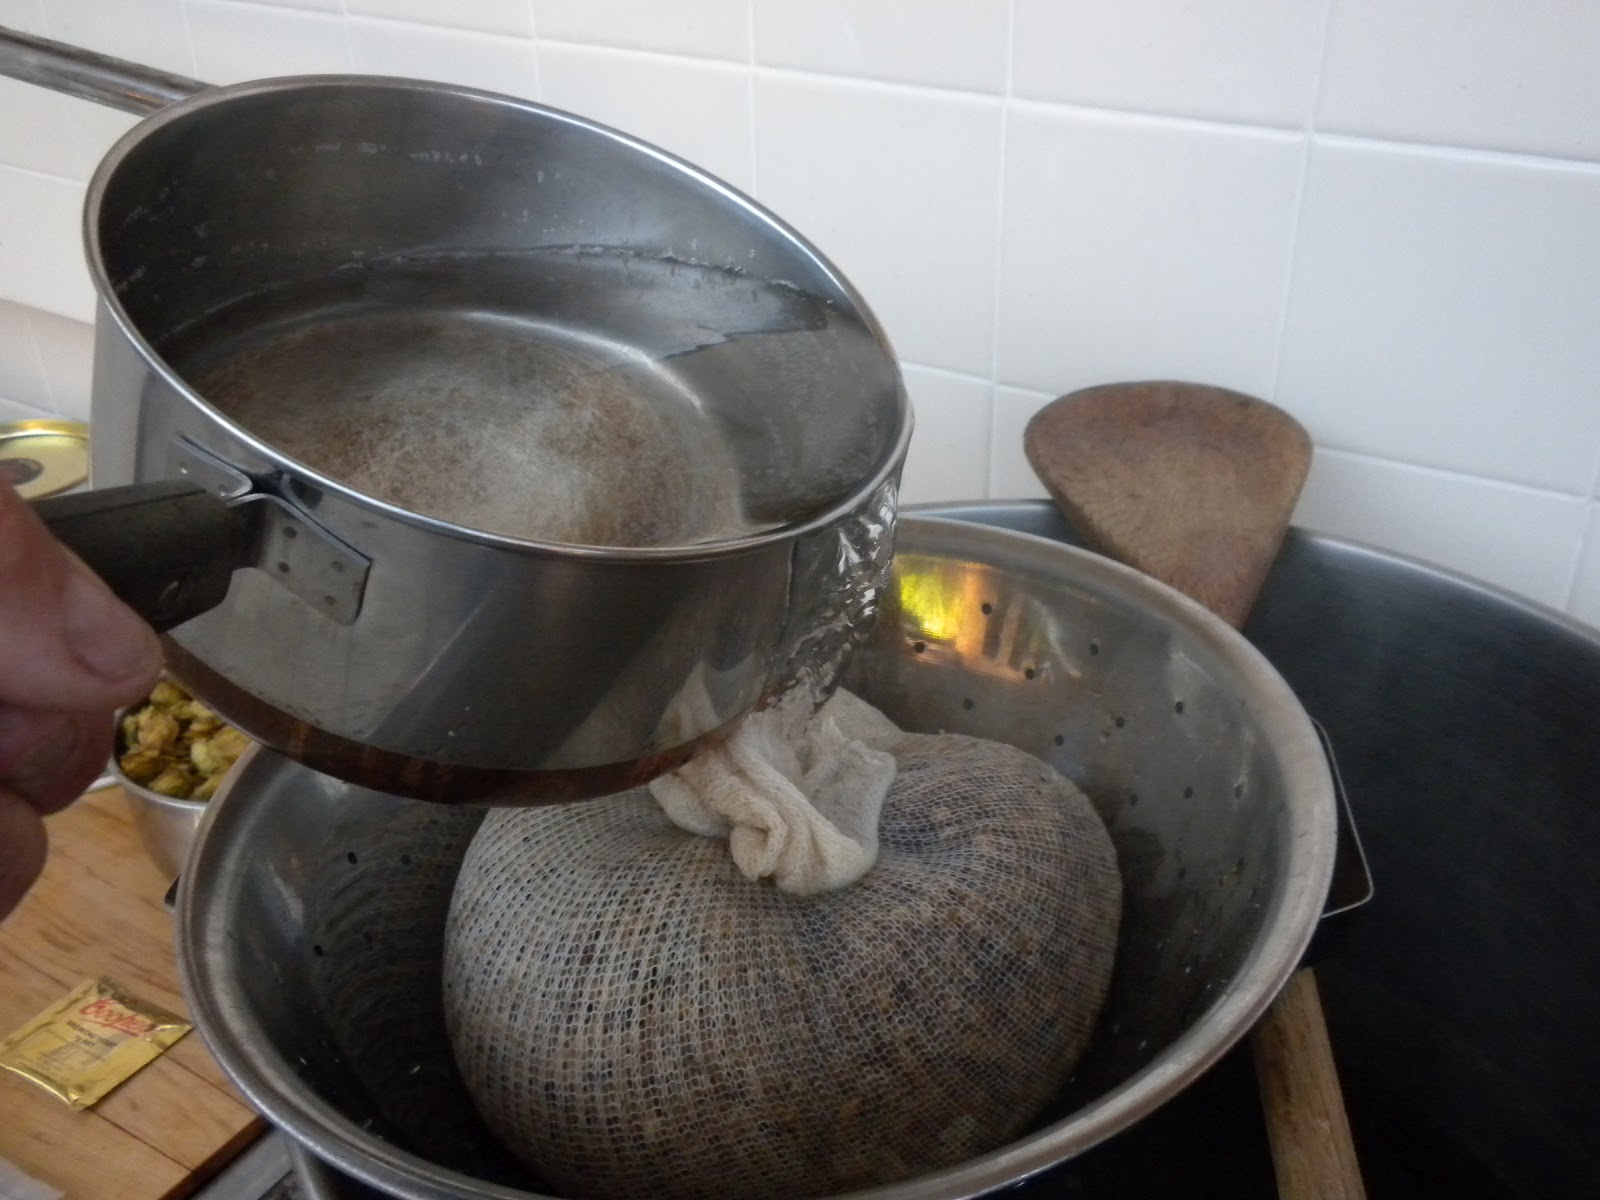
Next remove the grains and place in a strainer over the kettle and allow to drain.
 Pour 1 quart of hot bottled water over the grains to rinse. Discard the spent grains. 
Add the dry amber malt and the Cooper's lager malt and stir until they are completely dissolved. Turn on the burner and bring to a boil. Place 2 ounces of the hops in a strainer bag and, once a vigorous boil has been achieved, add the hops to the kettle. Boil for 55 minutes. Place the remaining 1 ounce of hops in another strainer bag, add to the kettle and boil for an additional 5 minutes, then turn off the heat and allow to cool for 20 minutes.
After the 20 minutes of cooling, remove the strainer bags of hops and place in a strainer over the kettle and allow to drain. Then pour the remaining 2 1/2 gallons of very cold bottled water over the hops into the kettle. Discard the hops. 
The next step is to cool the kettle ingredients (wort). I use ice water which takes awhile. Cool until the wort is at 80 degrees F.
While the wort is cooling, prepare the yeast by sprinkling the contents of the yeast packet into 1/4 cup of 95 to 105 degree F water. Do not stir.
Transfer the cooled wort to the sterilized fermentor. (I use 1/4 cup of sodium bisulfite, available from your home brew supplier, per gallon of water to sterilize. Make sure to cover all surfaces of the fermentor with the solution then rinse thoroughly with water.) Next add cold bottled water until the wort level is 1 inch above the 5 gallon mark on the fermentor.
Draw off some of the wort into a sterilized testing tube and insert the sterilized hydrometer; then take a hydrometer reading. My starting specific gravity reading is 1.060. To calculate what the finishing specific gravity should be, take the 60 from the starting specific gravity above and divide it by 4 which equals 15. Then divide the 60 by 3 equals 20 meaning that the finishing specific gravity should be between 1.015 to 1.020. This will be about 6 percent alcohol.
Add the  yeast to the 80 degree wort and stir to mix.
Place the tight lid on the fermentor and install the air lock that has been filled with water. As the gas from the fermenting is produced, it is released as  bubbles through the air lock.As you can see, I have moved the fermentor to my kitchen so I can maintain the fermenting temperature between 65 and 72 degrees F. 
Over night the batch starting fermenting vigorously producing "krausen" so I removed the air lock to let the fermenting process continue. The next day the fermenting had calmed down so I was able to clean up the "krausen" and re-install the air lock.
On the 3rd day of fermenting, the fermentation had slowed so I was able to take a hydrometer reading of 1.020 which was in the range of the expected specific gravity (see above). I then transferred the brew to a glass carboy leaving behind the sediment that had settled in the bottom of the fermentor. The air lock was then installed on the carboy and the fermenting continued until I bottled on Sept 16, 2012. I transferred the beer back to a sterile bottling tank (same tank I used for fermenting) and discarded the sediment in the bottom of the carboy.
On bottling day I rinsed out 48 bottles and sterilized them for 2 minutes by immersion in a 25 ppm solution of titratable iodine made by mixing 1 teaspoon of iodophor sanitizer (available from your home brewing supplier) per gallon of water. The bottles were then thoroughly rinsed and allowed to drain. They are now ready for filling.
The next step is to dissolve the priming sugar in 1 cup of beer removed from bottling tank. Heat this mixture on a stove until thoroughly dissolved: then add to the beer in the bottling tank and stir thoroughly to mix. The beer is now ready to bottle.
The sterilized bottles are now being filled to within 1/2 inch of the top by syphoning the beer out of the carboy.
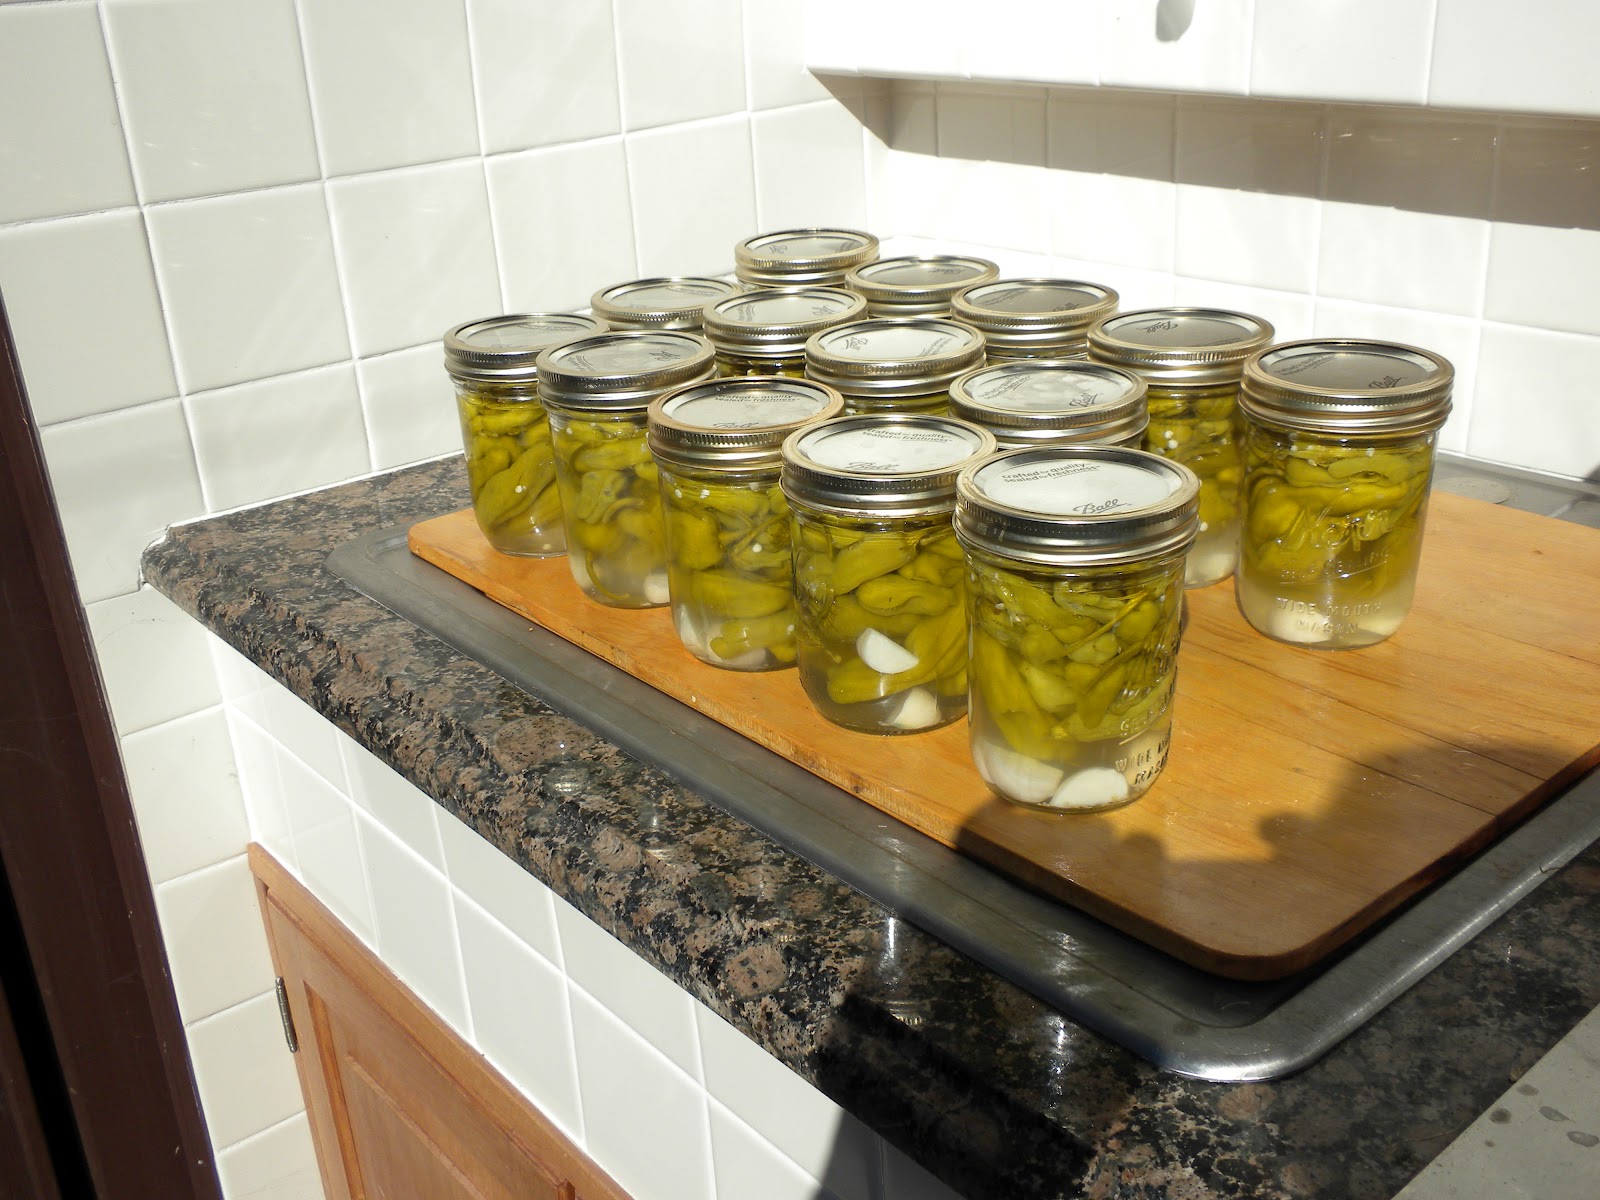
The bottles are then capped using sterilized and rinsed metal bottle caps available from your home brew supplier. I marked the bottles identifying the type of beer and then stored the bottles in a 70 to 80 degree F  location to allow the yeast to carbonate the beer for 2 weeks. This batch will be ready to drink on October 1, 2012 but the beer will improve with time peaking in 2 to 3 months. I can't wait!

Sunday, September 16, 2012

                                      Here are 3 more varieties of peppers that I grew this year.
The above are Thai Hots. They will turn bright red when they mature. They are good in chili and oriental dishes. They grow vertically and not downward as most peppers do.
The above are Ancho Magnifico from Territorial Seed Company. They are huge and make delicious chili rellenos!
The above are Jalapenos. They are loaded and I have  been picking them for some time.

Monday, September 10, 2012

Have you eaten pumpkin or squash blossoms? They only keep of an hour or two, so pick them and eat  raw in a salad or quickly dip them in tempura batter and deep fat fry.
The above photo is of a female pumpkin blossom. Note the large center (stigma) that receives the pollen. The blossom is found at the base of the vine and you can see the tiny pumpkin just behind the blossom. If the blossom is not pollinated, the small pumpkin will shrivel up. If it is pollinated it will start growing!
The above photo is of a male pumpkin blossom. Note the small center (stamen) that has the pollen. The blossom is found on long spindly stems. So the bees or other insects must visit the male blossom at the correct time, pick up some pollen (accidently) and then fly to the female blossom and deposit the pollen (accidently) on all of the stigma in order for the female blossom to fruit. It's unbelievable what it takes to make a Jack-O-Lantern or pumpkin pie! For those of you who want to try hand pollinating, go to the web for directions.

Thursday, September 6, 2012

Today I picked my Peperoncino peppers and canned 14 pints of pickled peppers. The 3 plants produced about 6 pounds of peppers which was more than enough for the 14 pints. They will be served as appetizers or as a side dish.
The jars of pickled peppers are ready to store in a cool dry place.

Tuesday, September 4, 2012

My peppers in the garden are looking great. This year I planted 12 different varieties of peppers. I thought I would show what 2 different varieties look like on the pepper plant while the peppers are still green.
The above peppers are Long Thin Cayenne. They take about 100 days to turn red from the date you set them out in the garden. These were set out on May 26, 2012 so they should be turning red soon.These are very hot. When they turn red, I will dry and grind them to make fresh cayenne pepper.
These peppers are Peperoncino. They are sweet and mild and can be pickled when green  or dry them after they turn red. (When they are red they are hotter.) They are about 2 to 3 inches long and the plants are loaded with peppers. These plants were also set out in my garden on May 26th and they too will be turning red during the month of September.